Dive into the 18-Step Process to Craft Handmade Makeup Brushes

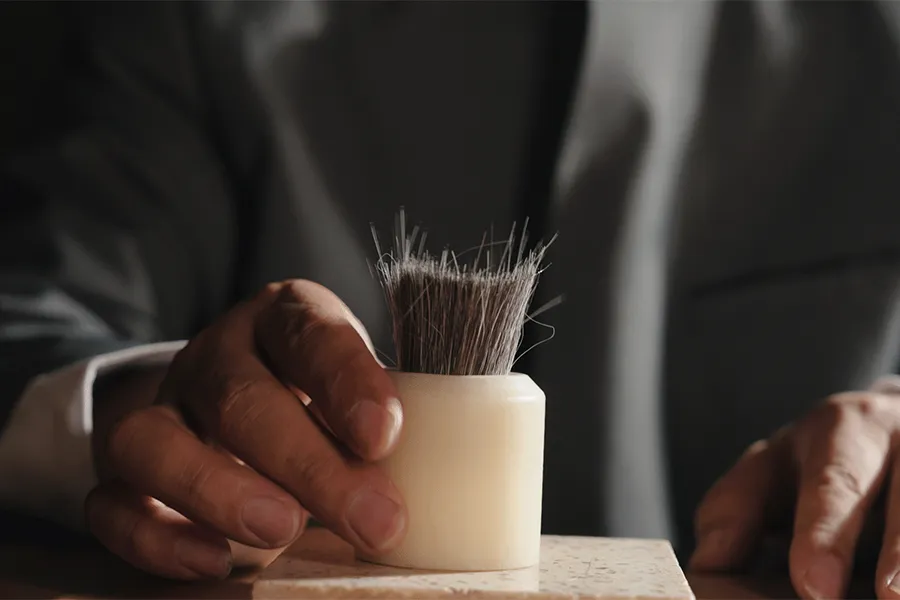
Are you amazed at how a small makeup brush is made? It may seem like it's simply composed of three parts, but what secrets are hidden within? Why are the prices of top luxury brands like Hakuhodo so high for just one makeup brush? Today, I will take those luxurious brand makeup brushes off their pedestal and reveal every detail of their creation process to you.
WhyUnderstanding How Brushes Are Made Matters
Knowing howbrushes are made can deepen your appreciation for their quality and purpose.When you understand the process, you can make more informed choices as aconsumer, supporting ethical practices and finding tools that enhance yourmakeup routine.
For professionals in the makeup brush industry, this knowledge becomes a powerfultool to educate customers, address concerns, and resolve after-sales issueswith confidence. Establishing yourself as an expert builds trust, strengthenscustomer confidence in your products, and enhances your brand's credibility,fostering long-term loyalty and engagement.
FromConcept to Creation: The Journey of a Makeup Brush
Step 1: Confirming All Details in the Production Process
At this stage, here we assume that we have obtained a sample makeup brush to copy, or atarget design has been finalized for the client. The key is to confirm allnecessary details to ensure the production aligns with expectations.
- Materials: Brush bristle material: synthetic, natural, or mixed; Ferrulematerial: aluminum, copper, or brass; Handle material: wood, plastic, or otherspecified types
- Material Treatments: Are the bristles to be dyed or left natural, should different typesof bristles be blended? Ferrule coloring process - painting, electroplating oranodizing? Handle finish: glossy or matte, are there any specific surfacetreatments or techniques required?
- Client’s Special Requirements: Any additional customizations or unique specifications requested by the client should be clearly listed and assessed for feasibility.
By outliningand confirming these details and forming a technical file as an attachment tothe sample order, the basis is laid for a smooth production process that meetstechnical and aesthetic expectations.
Step 2: Procuring Raw Materials and Conducting Strict Quality Inspections
- Conduct thorough pre-production quality inspections for both in-stock natural bristles and purchased synthetic fibers.
- Procure brush handles with specific coating or surface treatment requirements, and perform strict inspections upon delivery.
- Purchase ferrules with the required finishing techniques, and subject them to rigorous quality checks upon arrival.
The focus of this step is on stringent quality inspections before materials are added to inventory. Since certain processes, such as handle coating and ferrule finishing, are carried out by material suppliers, ensuring the quality of these components is essential to maintaining the integrity of the final product.
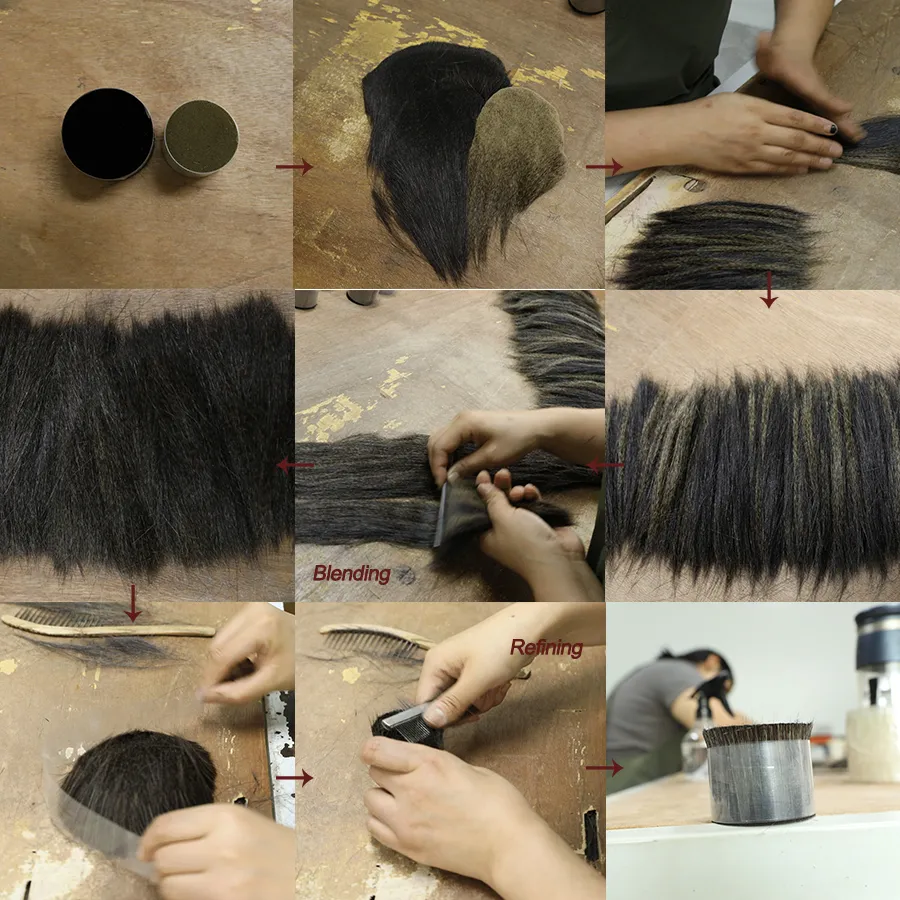
Step 3: Blending and Refining Bristles
The quality of the bristles defines the overall performance of a makeup brush.
- Blending Bristles
If required, different types of bristles are blended to combine their unique advantages—for instance, the elasticity of goat hair with the softness and delicacy of squirrel hair. This blending process is repeated at least five times to ensure an even mixture, achieving a uniform distribution of bristle properties. - Refining Bristles
After blending, the mixed bristles undergo a refining process to remove impurities such as lint, damaged hairs, or undesirable bristles, including reversed or poorly aligned hairs. The goal is to retain only high-quality bristles that meet strict standards, ensuring they feel soft and smooth against the skin without any prickly sensation.
This refining process is iterative, with no fixed number of repetitions. It is repeated until the retained bristles meet quality requirements. On average, the process takes at least six rounds, with the final usable bristles constituting only about 70% of the original batch. But for synthetic bristles, this step is typically unnecessary, as they are pre-processed to meet uniform standards.

Step 4: Weighing the Bristles
Using a precision scale, measure the amount of bristles required for the target makeup brush. The margin of error should not exceed 2g.
Step 5:Shaping and Securing the Bristles
Shaping the bristles involves using a specialized resin mold, pre-carved on a lathe to resemble the desired shape. The bristles are placed upside down into the mold, and through multiple vibrations, they automatically settle into the mold’s contours, forming the initial shape. Once the bristles are shaped, the base of the bundle is secured with a fine string to hold them firmly in place.

Step 6: Manual Brush Shape Adjustment
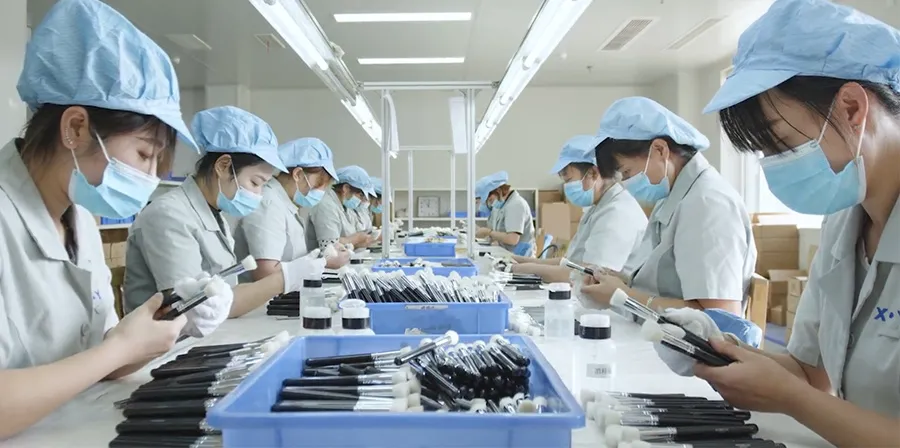
The purpose of this step is to correct any slight deformations caused by tying the bristle bundle with string and to refine the bristle shape and layering to match the desired design. As the entire brush shaping process is completed by hand, this step demands a high level of experience and expertise. In the Brushvoices workshop, it is typically carried out by artisans with over 15 years of experience.
One challenge of purely manual production is that, before the bristle shape is permanently secured with adhesive, frequent pauses are required for meticulous hand adjustments. This ensures the final shape is flawless and perfectly aligned with the design specifications.
Step 7: Threading the Ferrule
The purpose of this step is to insert the pre-shaped bristle bundle, which closely matches the target brush shape, into a round metal ferrule, leaving the shaped bristle portion exposed. During the process, artisans use a thin plastic sheet, specially cut as a tool, to guide the bristles into the ferrule. With precise and delicate force, they ensure that the bristle shape remains intact. Finally, the fine string securing the bristles is carefully cut and removed.
Step 8: Ferrule Pressing and Measurement
The purpose of this step is to compress the prototype ferrule to achieve the desired shape, such as flattening it for specific brush types like flat foundation brushes. A caliper is then used to measure and ensure that the bristle length, brush width, and thickness are within the factory's acceptable range. This pressing process is only applied to brush designs that require specific ferrule shapes.

Step 9: Second Manual Brush Shape Adjustment and Measurement
The purpose of this step is to correct any minor deformations in the bristle shape caused by steps seven and eight. A finished brush that meets quality standards is used as a reference. The bristles are carefully and meticulously adjusted to achieve the desired layering and shape until they meet the required standards.
In addition, a second round of measurements is conducted to ensure that the bristle length, brush width, and thickness remain within the allowable tolerance range. This ensures the final product meets both aesthetic and functional standards.
Step 10: Second Refining Process
Unlike the initial bulk refining stage, this step involves a more detailed treatment using blades and combs. It focuses on removing any lint, damaged bristles, or reversed hairs that may have been introduced during production or remained from earlier stages.
Since this process is specific to the exact bristle volume used for each individual makeup brush, it allows for precise identification and elimination of any defective bristles. This ensures that the brush performs optimally when paired with cosmetic products, achieving the desired results with perfection.

Step 11: Glue Injection and Air Drying
This step involves applying glue to fix the shape, binding the bristles and the metal ferrule into a single cohesive unit. It requires experienced artisans to ensure precision. The glue application must be carefully balanced—too little glue may result in loose ferrules or bristle shedding, while too much glue can seep out from the other end, affecting the brush's usability and appearance.
After the glue is injected, the brushes are left in an air-drying room for 12 hours to ensure the adhesive fully sets and solidifies.
Step 12: Shape Refinement
Using tweezers and blades, the bristle shape is trimmed to achieve the desired final form. By this stage, the bristle shape has been completely fixed and can no longer be adjusted manually. However, for natural hair brushes, we minimize cutting to preserve the natural tips of the bristles, as these are critical for optimal performance.
Step 13: Loose Hair Removal
Adhesive tape is repeatedly applied to the bristle section to remove any loose bristles that were not securely fixed due to insufficient glue or broken bristles left over from the trimming process.
.webp)
Step 14: Quality Inspection
At this stage, the brush head is fully assembled. Industry standards are followed to compare the product against the target design. Shape, size, density, and shedding resistance are meticulously checked to ensure the highest quality brush head.
Step 15: Logo Printing on the Handle
Once the surface-treated brush handles pass inspection, the logo is printed in our in-house printing workshop. Methods include pad printing, screen printing, hot stamping, or engraving, depending on the design and material requirements.
Step 16: Assembly of Brush Head and Handle
Glue is applied to the interior of the metal ferrule to attach the brush head to the wooden handle. The assembled brush is then left to air dry for 12 hours to ensure a secure bond.

Step 17: Physical Locking (If Applicable)
This process is used in most of our premium brushes. Utilizing a proprietary physical locking technique, the metal ferrule and wooden handle are tightly secured with a patterned groove without damaging the metal’s surface coating. This creates a secondary safeguard beyond the glue bond, ensuring the handle will never detach.
This process is only applied to thickened copper ferrules and harder woods such as maple, ebony, or rosewood.
Ps: Since this process involves proprietary techniques, the equipment and processing methods are not shown.
Step 18: Final Quality Inspection and Packaging
By this stage, the makeup brush is nearly complete. Before packaging, 100% of brushes undergo a final quality inspection by our staff. The bristle section is covered with a protective sleeve to maintain its shape and provide support, preventing deformation during transport. Finally, the brush is placed into an OPP bag to ensure cleanliness and protection.

Additional Steps for Finalization:
- Custom Packaging and Labeling:
Based on client requirements, custom packaging boxes are designed and created. Brushes are sorted and placed into the appropriate compartments for secure packing, and required labels are printed and affixed to the packaging for clear identification and branding. - Transportation Stability Testing:
Before shipment, transportation stability tests are conducted to ensure the brushes remain intact and undamaged during transit. This step minimizes the risk of deformation or breakage. - Optional Disinfection:
As per client requests, brushes may undergo either ethylene oxide (EO) sterilization or ultraviolet (UV) disinfection to meet specific hygiene standards, ensuring safe and ready-to-use products for end-users.
Complex craftsmanship and meticulous attention to detail are what create truly high-quality makeup brushes. We've been committed to this for nearly 20 years. Watch the full video on YouTube to experience the craftsmanship firsthand.


